Map your Lawn and Create Task Area
Before Mapping-Preparation
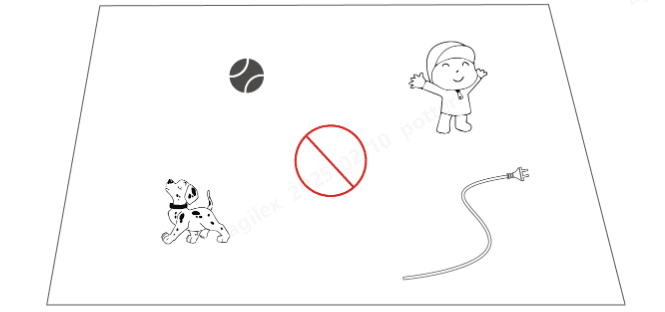
Before mapping, it is important to be aware of key considerations.
- Remove debris, piles of leaves, toys, wires, stones, and other obstacles from the lawn. Make sure no children or animals are on the lawn.
Map Your Lawn
1. Make sure the robot is powered on and your phone Bluetooth is on. Your phone will connect to the robot automatically with a Bluetooth connection.
2. Tap Create a Map to start.
3. Select Manual Mapping or Auto Mapping to continue.
Manual Mapping
1. Control the robot to a proper starting point of the perimeter and tap to start mapping.
- Move the virtual joystick
up or down to control the robot's forward or backward movement.
Move the virtual joystick  left or right to turn the robot left or right.
2. Guide the robot along the perimeter. Keep the controller within 1.5 meters (4.9 feet) of the robot to maintain a stable Bluetooth connection.
a) If the perimeter meets an obstacle such as a wall, fence, ditch, or uneven pathway, maintain a distance of at least 15 cm (6 in) from the perimeter while guiding the robot.b) If the perimeter meets a level, even pathway, it is recommended to guide the robot on the pathway for more efficient cutting.3. Tap Discard and Exit to clear all unsaved data and remap during the mapping process if needed.4. Control the robot back to the starting point and tap Save to finish mapping.Auto MappingNOTE
- Remove any obstacles before starting auto mapping.
- Keep your phone active and do not switch to other apps.
- Follow the robot during the mapping process.
- Ensure the Bluetooth connection between the robot and your phone remains uninterrupted.
- Please do not use Auto Mapping in scenes with steps, cliffs, ponds, or similar obstacles.
allBestoriginalRemove
The Auto Mapping feature uses the robot’s vision camera to detect the physical perimeter of the lawn. When the camera identifies a clear perimeter, Auto Mapping is activated, allowing the robot to autonomously map the lawn’s perimeters. Tap Auto Mapping to initiate this feature.
If the robot malfunctions, tap the Stop button and then manually control it to continue mapping.

NOTE
- When mapping, the system will estimate the area. Please ensure that the area is not more than the upper limit (See Technical Specifications in the user book for more information), or the task area mapping will fail.
- Drive the robot out of the task area first if a new area is created.
Related Articles
How to Create Pattern
The pattern is designed to personalize your lawn-cutting experience, and after it's added, the grass on the patterned area will be preserved while cutting to maintain its design. See the available patterns in the app. 1. Tap Create > Pattern on the ...How to Set Mowing Task
Preparation If any unexpected problems arise, please press the STOP button and secure the robot. The STOP button holds top priority among all commands. If the lift sensor is activated, the robot will come to a halt. Please press the Grass button ...How to Create Channel
The channel is intended to connect various task areas or link the task area with the charging station. 1. Tap Create > Channel on the map page. 2. Control the robot into a task area. Tap to start mapping. 3. Manually control the robot from a task ...Task Settings
Frequency You can set the working frequency here. Now — The robot will commence work promptly upon configuration. Weekly — The robot will repeat the task every week based on your preferences. Cutting path angle (°) Optimal:Take the most efficient ...How to Create No-go Zone
No-go zones are created for pools, flowerbeds, trees, roots, ditches, and any other obstructions present in the lawn. The robot will avoid mowing inside these designated areas. 1. Tap Create > No-go zone on the Map page. 2. Guide the robot to the ...