How to Set Mowing Task
Preparation
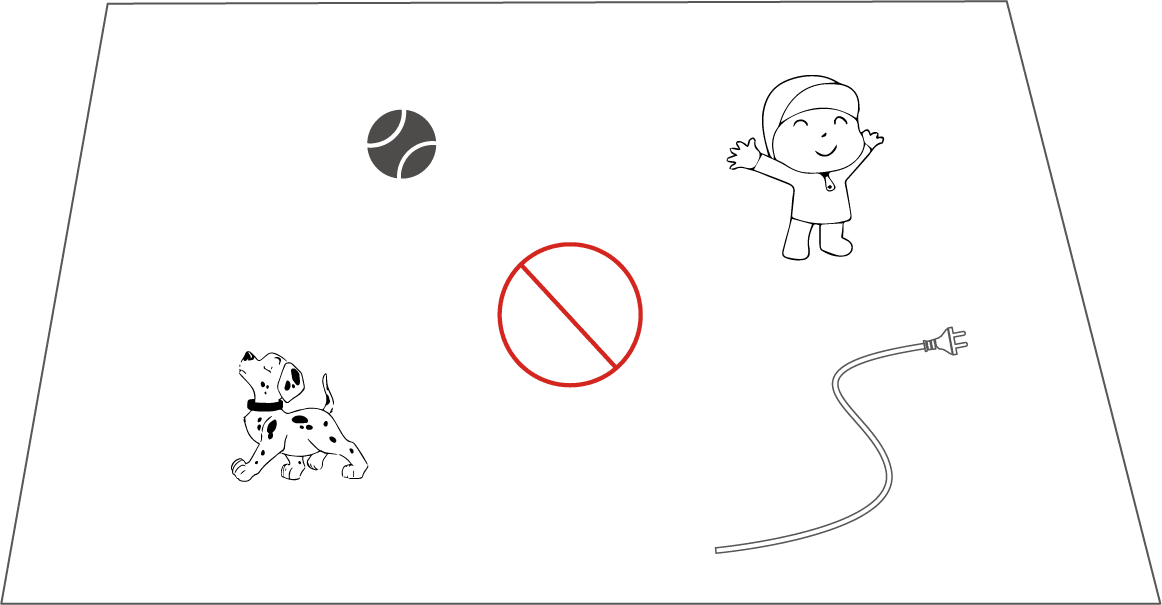
- Remove debris, piles of leaves, toys, wires, stones, and other obstacles from the lawn. Make sure no children or animals are on the lawn.
- Ensure the robot is within the task area or at the charging station. If not, manually move or guide the robot into the task area.

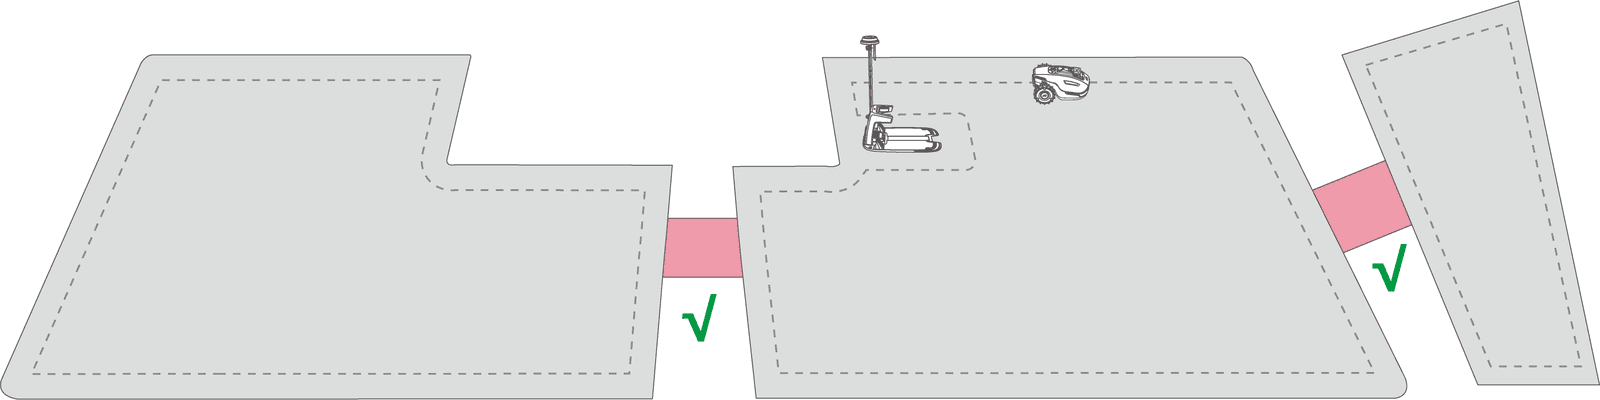
- Ensure a channel is created between task areas or between a task area and the charging station. Without it, the robot will not be able to automatically return for charging when the battery is low.
- The robot supports a maximum grass height of 130 mm/5 in for the US version and 120 mm/4.7 in for other versions. Adjust the cutting height by manually pressing down and turning the Cutting Height Adjustment Knob
on the robot before mowing. It is recommended to adjust the cutting height according to the grass height for each mowing as follows:
Grass Height Cutting Height 100-130 mm (3.9-5 in) Set to 100 mm (3.9 in) 100-120 mm (3.9-4.7 in) Set to 90 mm (3.5 in) 60-100 mm (2.4-4 in) Cut by 20 mm (0.8 in) 20-60 mm (0.8-2.4 in) Cut by 10 mm (0.4 in)
Start Mowing
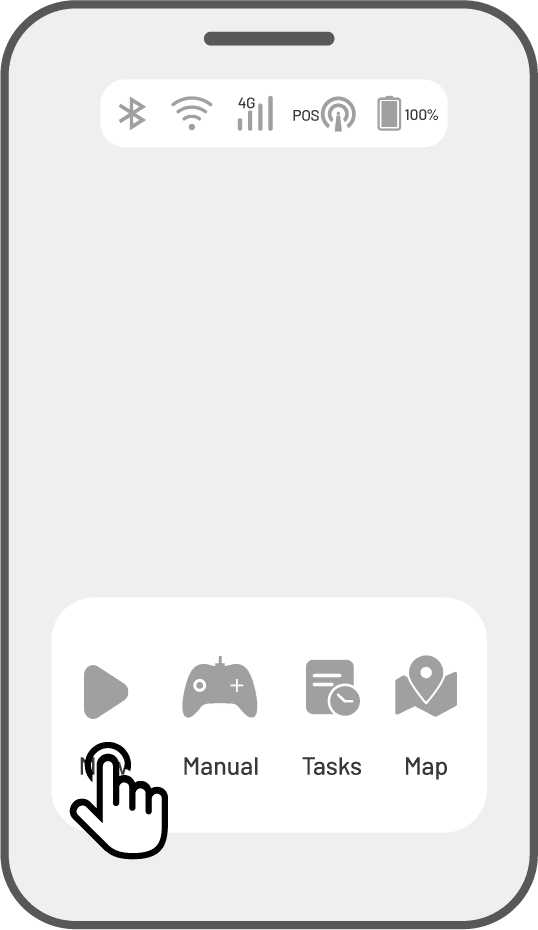
1. Select Mow to start mowing settings.
2. Follow the onscreen information to finish the settings and start mowing.
Set a Regular Mowing Task
With the Schedule function, you can set a regular task and the robot will automatically do its work according to your setting.
● Once only — The robot will commence work promptly upon configuration.
● Weekly — The robot will repeat the task every week based on your preferences.
● Specified date — The robot is scheduled to commence work on the specified date.
● Fixed interval — specify non-working days. For example, if you input 3 days, the robot will operate once every 4 days as per your settings.

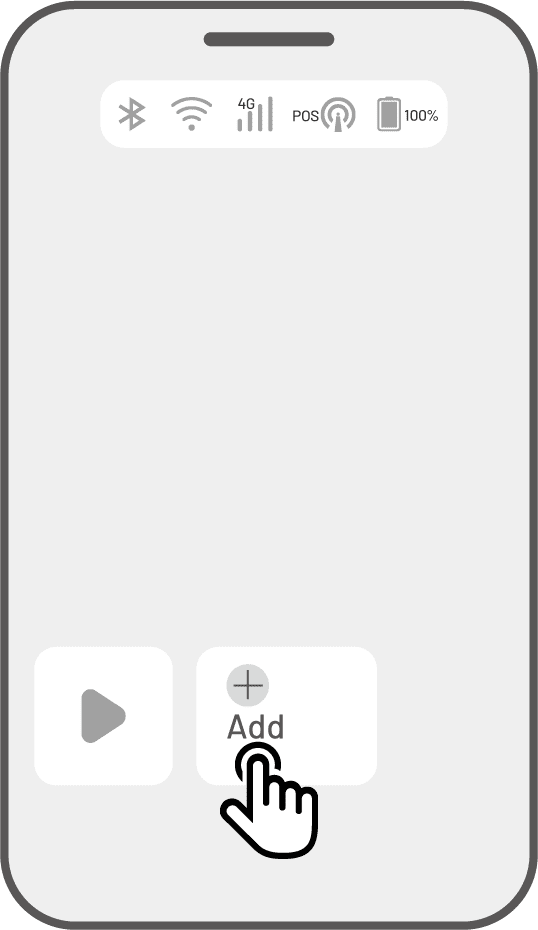
1. Tap Add on the Home page to enter the task assignment page.
2. Select a day to set a schedule.
3. Configure the mowing parameters.
4. Select an area to apply the schedule.
5. Tap Save to confirm the settings.
Change or Delete a Scheduled Mowing Task
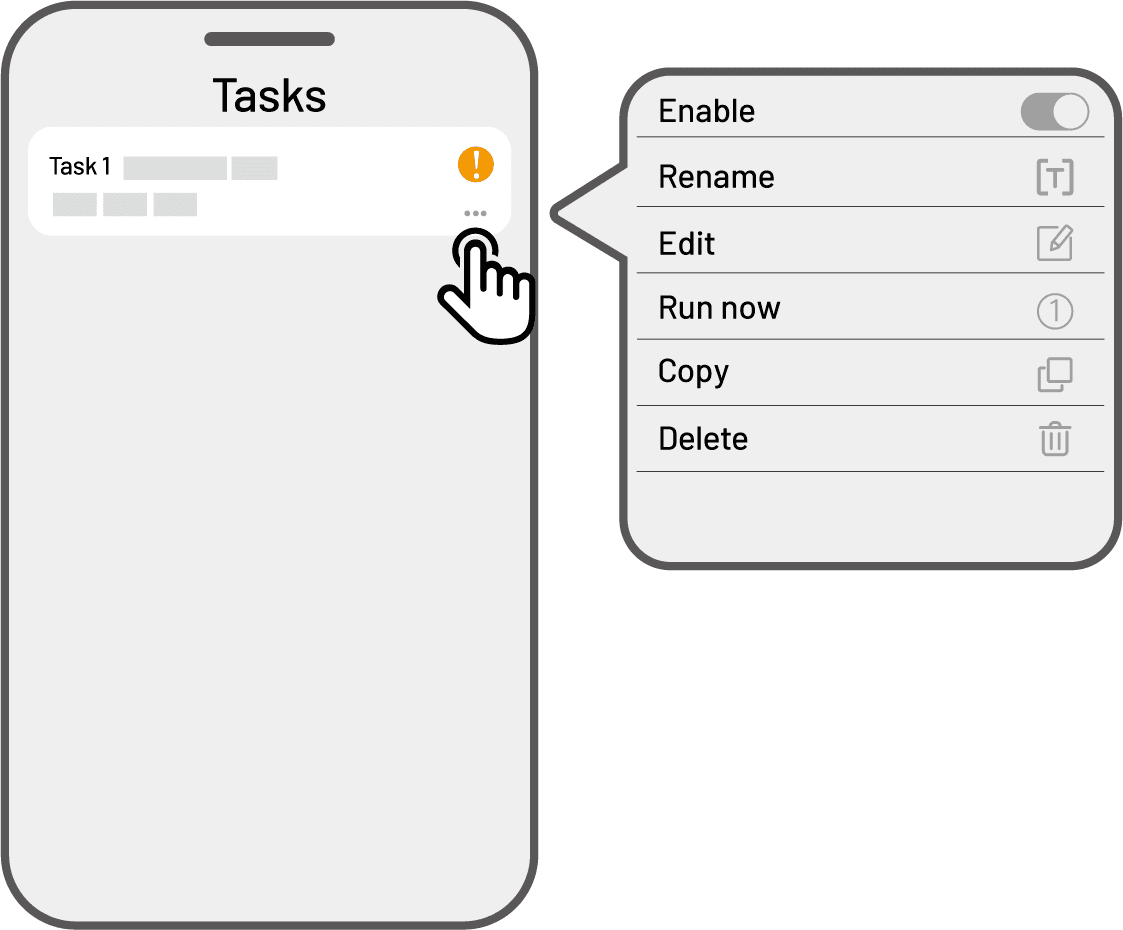
Tap ![]() on the task you set to open the drop-down menu.
on the task you set to open the drop-down menu.
● Enable — toggle the button to off to inactivate the task if needed.
● Rename — tap to change the name of the task.
● Edit — tap to change the task.
● Run now — tap to run this task immediately.
● Copy — tap to create a new task with the same settings while keeping the original task, then choose one to edit.
● Delete — tap to delete the task.
If the exclamation mark ![]() appears, it indicates that the scheduled task cannot be performed due to errors. Tap the exclamation mark for more details.
appears, it indicates that the scheduled task cannot be performed due to errors. Tap the exclamation mark for more details.
Related Articles
Task Settings
1. Mow Toggle the button to on/off to enable/disable the mowing function. 2. Sweep Toggle the button to on/off to enable/disable the sweeping function. 3. Dumping Interval The robot will dump once based on the settings. 4. Task Speed The speed of the ...How to Create Task Area
Before Mapping Before mapping, please remove debris, piles of leaves, toys, wires, stones, and other obstacles from the lawn. Make sure no children or animals are on the lawn. Make sure the robot is powered on and has sufficient battery. Mapping Your ...YUKA Series 2024 User Manal - EN
YUKA Series 2024 User Manal - ENHow to Set Up Lawn Printing in the Mammotion App?
How to Set Up Dumping Spots for YUKA in the Mammotion App?